共计 1363 个字符,预计需要花费 4 分钟才能阅读完成。
xampp怎么导入数据库?
xampp修改服务器文件大小限制:
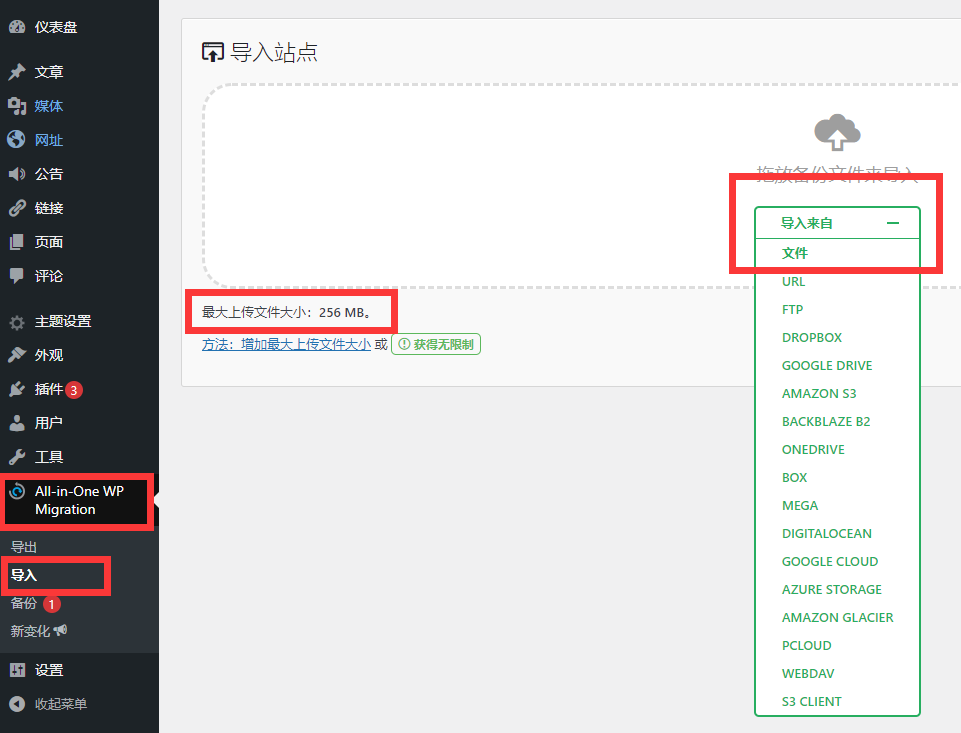
wordpress搬家,All-in-One WP Migration导出的备份文件一般都很大,远远超出服务器默认的大小。那导入提示文件大小限制怎么办?增加最大上传文件大小 ,如下图,本来限制20M,40M,修改成了256M。

我服务器端用的是宝塔面板,自己本地搭建环境的时候用的是XAMPP,方法如下:
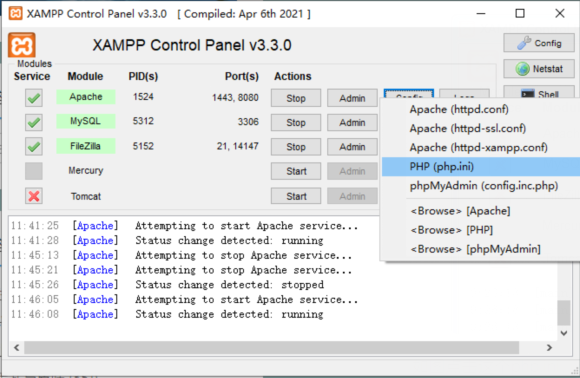
点击XAMPP Control Panel面板上的config , PHP(php.ini),

如果是这个插件的文件限制问题的话,搜索“post_max_size=”,后面的数字修改成想要的大小即可。

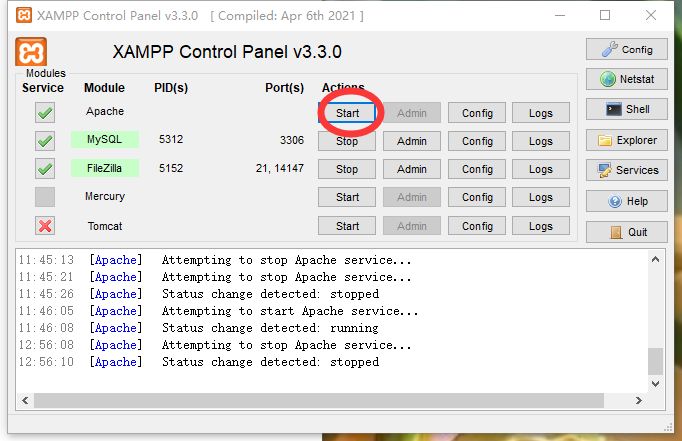
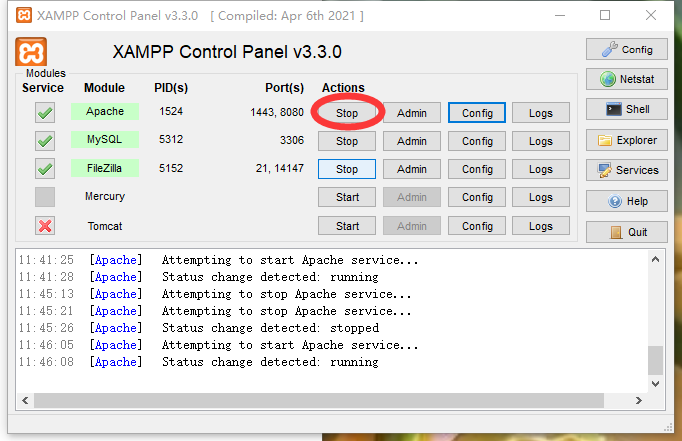
修改完记得关闭,重启Apache:


附上插件官方解决方案:
There are 4 ways that you can choose to increase the maximum upload file size in WordPress.
1. Use our plugin (easy)
https://import.wp-migration.com
2. Contact hosting provider (medium)
Reach over to the customer support of your hosting provider and ask them to increase these limits for you
If you are still unable to import your file, the easiest way to figure out the problem is to request error logs from your hosting provider for your website. Examine the logs around the time when you tried to import the backup.
You will see what limit you have encountered and increasing it will solve the issue.
3. Do it yourself (hard)
Edit .htaccess file
php_value upload_max_filesize 128M
php_value post_max_size 128M
php_value memory_limit 256M
php_value max_execution_time 300
php_value max_input_time 300Edit wp-config.php file
@ini_set( 'upload_max_filesize' , '128M' );
@ini_set( 'post_max_size', '128M');
@ini_set( 'memory_limit', '256M' );
@ini_set( 'max_execution_time', '300' );
@ini_set( 'max_input_time', '300' );
upload_max_filesize – set this to a value > than your backup
post_max_size – set this to a value > than your backup
memory_limit – set this to a value > than your backup
max_execution_time – set this to 0 (infinite)


 peter
值得一读